

Parvus
An accessible, open-source image lightbox with no dependencies.
README
Parvus
Overlays are not recommended to use, but if you need one, you can consider using Parvus. Parvus is an open-source image lightbox that aims to be accessible and has no dependencies.
Installation
Download
- CSS:
- dist/css/parvus.min.css (minified) or
- dist/css/parvus.css (un-minified)
- JavaScript:
- dist/js/parvus.min.js (minified) or
- dist/js/parvus.js (un-minified)
Link the .css and .js files to your HTML file. Your HTML code should look like this:
- ```html
- <!DOCTYPE html>
- <html lang="en">
- <head>
- <meta charset="UTF-8">
- <meta name="viewport" content="width=device-width, initial-scale=1">
- <title>Page title</title>
- !-- CSS -->
- <link href="path/to/parvus.min.css" rel="stylesheet">
- </head>
- <body>
- !-- HTML content -->
- !-- JS -->
- <script src="path/to/parvus.min.js"></script>
- </body>
- </html>
- ```
Package Managers
You can also install Parvus using npm or yarn, like any other dependency:
- ```
- npm install parvus
- ```
or
- ```
- yarn add parvus
- ```
After installation, you can import Parvus into your JavaScript codebase:
- ```js
- import Parvus from 'parvus'
- ```
Make sure to include the corresponding SCSS or CSS file.
Usage
The standard way to use Parvus is by linking a thumbnail image with the class lightbox to a larger image.
- ```html
- <a href="path/to/image.jpg" class="lightbox">
- <img src="path/to/thumbnail.jpg" alt="">
- </a>
- ```
Initialize the script by running:
- ```js
- const prvs = new Parvus()
- ```
Captions
If you want to show a caption under the image, you can add a data-caption attribute.
- ```html
- <a href="path/to/image.jpg" class="lightbox" data-caption="I'm a caption">
- <img src="path/to/thumbnail.jpg" alt="">
- </a>
- ```
Alternatively, you can set the option captionsSelector to select the captions from the innerHTML of an element.
- ```html
- <a href="path/to/image.jpg" class="lightbox">
- <figure class="figure">
- <img src="path/to/thumbnail.jpg" alt="">
- <figcaption class="figure__caption">
- <p>I'm a caption</p>
- </figcaption>
- </figure>
- </a>
- ```
- ```js
- const prvs = new Parvus({
- captionsSelector: '.figure__caption',
- })
- ```
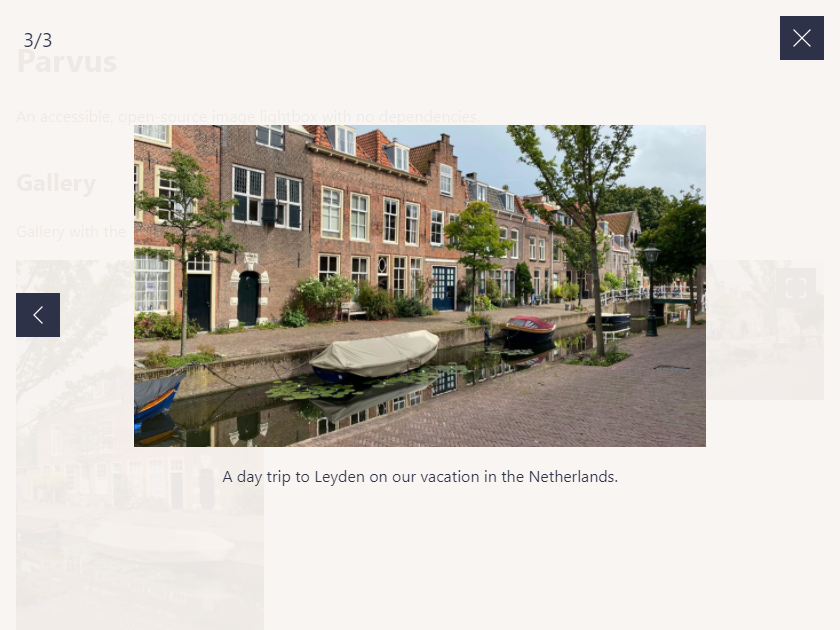
Gallery
If you have a group of related images that you would like to combine into a set, you can add a data-group attribute:
- ```html
- <a href="path/to/image.jpg" class="lightbox" data-group="Berlin">
- <img src="path/to/thumbnail.jpg" alt="">
- </a>
- <a href="path/to/image_2.jpg" class="lightbox" data-group="Berlin">
- <img src="path/to/thumbnail_2.jpg" alt="">
- </a>
- //...
- <a href="path/to/image_8.jpg" class="lightbox" data-group="Kassel">
- <img src="path/to/thumbnail_8.jpg" alt="">
- </a>
- ```
Alternatively, you can set the option gallerySelector to combine all images with a specific class within a selector into a group.
- ```html
- <div class="gallery">
- <a href="path/to/image.jpg" class="lightbox">
- <img src="path/to/thumbnail.jpg" alt="">
- </a>
- <a href="path/to/image_2.jpg" class="lightbox">
- <img src="path/to/thumbnail_2.jpg" alt="">
- </a>
- // ...
- </div>
- ```
- ```js
- const prvs = new Parvus({
- gallerySelector: '.gallery',
- })
- ```
Responsive Images
You can specify different image sources and sizes using the data-srcset and data-sizes attribute.
- ```html
- <a href="path/to/image.jpg" class="lightbox"
- data-srcset="path/to/small.jpg 700w,
- path/to/medium.jpg 1000w,
- path/to/large.jpg 1200w"
- data-sizes="(max-width: 75em) 100vw,
- 75em"
- >
- <img src="path/to/thumbnail.jpg" alt="">
- </a>
- ```
Localization
If you need localization, you can import the language module and set it as an option.
- ```js
- import de from 'parvus/src/l10n/de'
- const prvs = new Parvus({
- l10n: de
- })
- ```
Options
You can pass an object with custom options as an argument when initializing Parvus.
- ```js
- const prvs = new Parvus({
- // Clicking outside closes Parvus
- docClose: false
- })
- ```
The following options are available:
- ```js
- {
- // Selector for elements that trigger Parvus
- selector: '.lightbox',
- // Selector for a group of elements that should be combined as a gallery. Overrides the `data-group` attribute.
- gallerySelector: null,
- // Display captions if available
- captions: true,
- // Selector for the element where the caption is displayed. Use "self" for the `a` tag itself.
- captionsSelector: 'self',
- // Attribute to get the caption from
- captionsAttribute: 'data-caption',
- // Clicking outside closes Parvus
- docClose: true,
- // Closing Parvus by swiping up/down
- swipeClose: true,
- // Accepting mouse events like touch events (click and drag to change slides)
- simulateTouch: true,
- // Touch dragging threshold (in pixels)
- threshold: 100,
- // Setting focus back to the trigger element after closing Parvus
- backFocus: true,
- // Browser scrollbar visibility
- hideScrollbar: true,
- // Duration of transition effects in milliseconds (ms)
- transitionDuration: 300,
- // Timing function of the transition effects
- transitionTimingFunction: 'cubic-bezier(0.2, 0, 0.2, 1)',
- // Icons
- lightboxIndicatorIcon: '',
- previousButtonIcon: '',
- nextButtonIcon: '',
- closeButtonIcon: '',
- // Localization of strings
- l10n: en
- }
- ```
API
Parvus provides the following API functions:
| Function | Description |
|---|---|
| --- | --- |
| `open(element)` | Open |
| `close()` | Close |
| `previous()` | Show |
| `next()` | Show |
| `select(index)` | Select |
| `add(element)` | Add |
| `remove(element)` | Remove |
| `destroy()` | Destroy |
| `isOpen()` | Check |
| `currentIndex()` | Get |
Events
You can bind and unbind events using the .on() and .off() methods.
- ```js
- const prvs = new Parvus()
- const listener = function listener () {
- console.log('eventName happened')
- }
- // bind event listener
- prvs.on(eventName, listener)
- // unbind event listener
- prvs.off(eventName, listener)
- ```
The following events are available:
| eventName | Description |
|---|---|
| --- | --- |
| `open` | Triggered |
| `select` | Triggered |
| `close` | Triggered |
| `destroy` | Triggered |
Except for the destroy event, you can access the current source element using the event.detail.source property.
- ```js
- prvs.on('open', function (event) {
- console.log(event.detail.source);
- })
- ```
Browser Support
Parvus is supported on the latest versions of the following browsers:
- Chrome
- Edge
- Firefox
- Safari
